Manage space
Managing a Space
Once you have created a Space in undb, you may need to manage it by updating its name or even deleting it when it’s no longer needed. These actions are straightforward and can be performed from the Space’s settings page.
Updating the Space Name
-
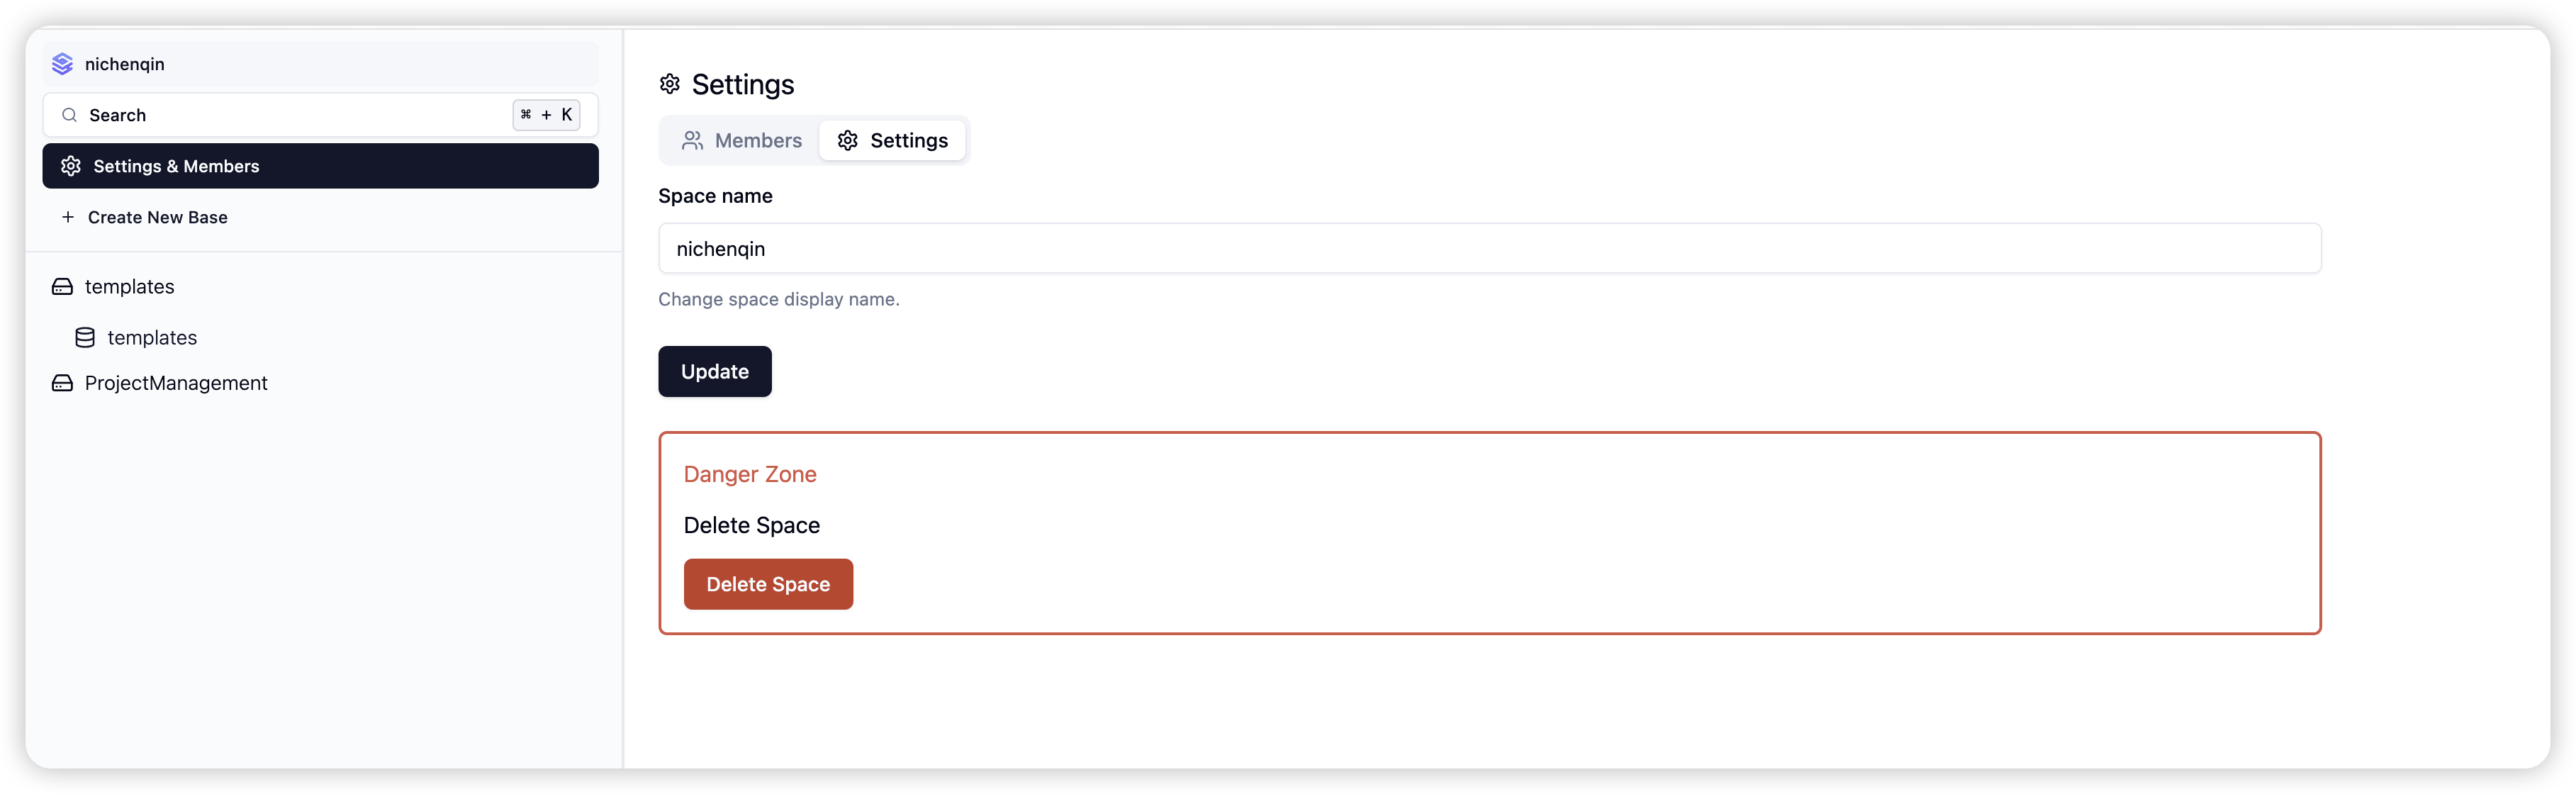
Accessing the Settings Page: To update the name of your Space, navigate to the Space’s settings page. You can do this by selecting the Space you wish to manage and then clicking on the Settings option.
-
Renaming the Space: On the settings page, you will find an option to change the name of the Space. Enter the new name that reflects the current purpose or project associated with the Space.
-
Saving Changes: After entering the new name, confirm the changes by clicking the save button. The Space will now be updated with the new name, and this change will be reflected across the platform.
Deleting a Space
If you no longer need a Space, you can delete it, but this action is only available to the Space’s owner.
-
Accessing the Delete Option: To delete a Space, go to the Space’s settings page. As the owner, you will see a Delete Space option at the bottom of the settings menu.
-
Confirming Ownership: Deleting a Space requires that you are the owner. Ensure that you are logged in with the account that owns the Space.
-
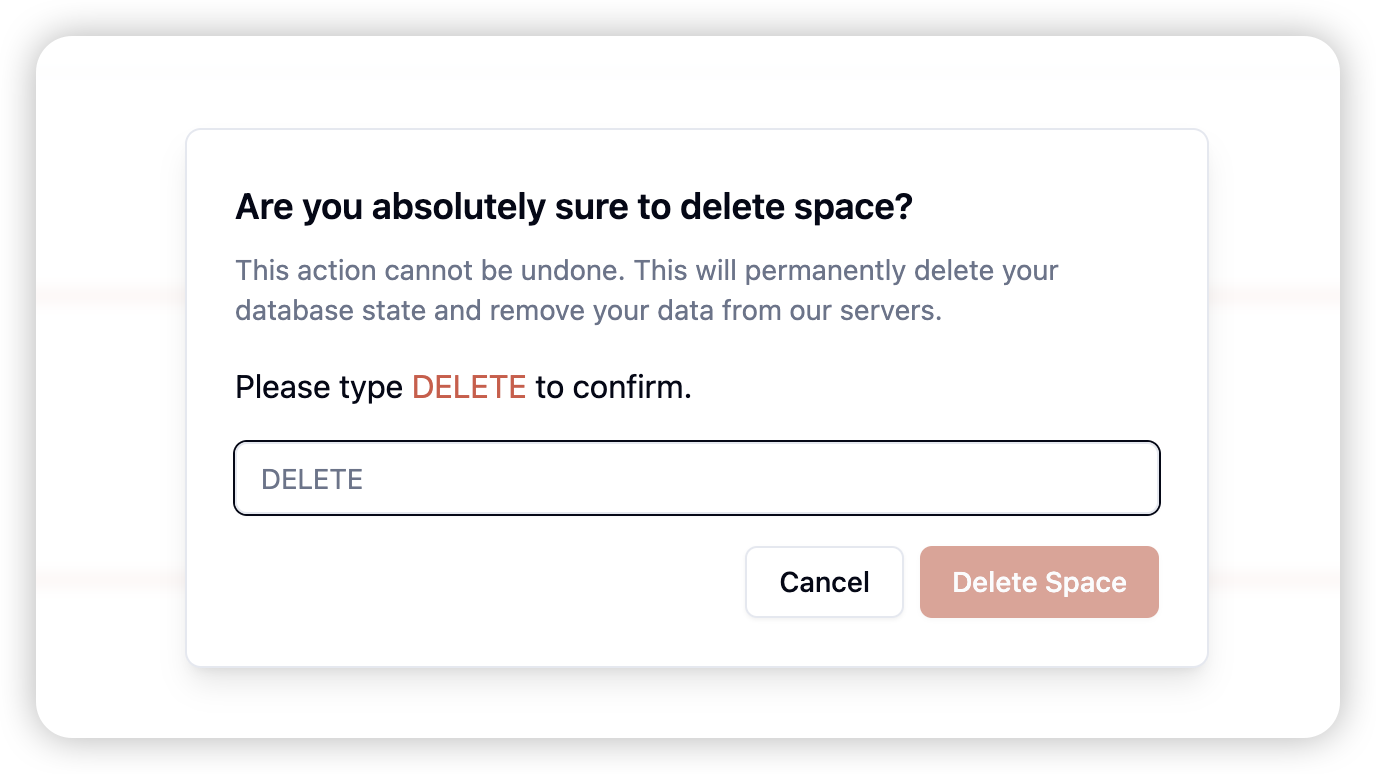
Deleting the Space: Click on the Delete Space button. You will be asked to confirm this action to prevent accidental deletions. Once confirmed, the Space and all its associated data, including Bases and Tables, will be permanently deleted.
-
Important Considerations: Deleting a Space is irreversible. Ensure that you have backed up any important data or that you are certain you no longer need the Space before proceeding.
By managing your Spaces effectively in undb, you can ensure that your workspace remains organized and that you have control over all aspects of your data environment.